Terrible pun, but still.
I've made some purchases lately that I wanted to share. Both concerning eyes.
 | ||||
| Photo from shueumura-usa.com |
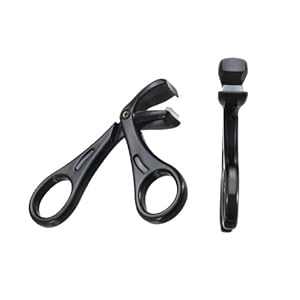
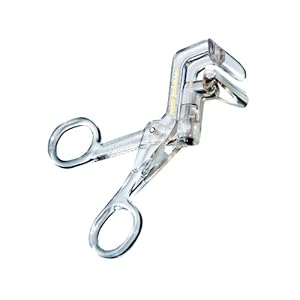
Firstly, the new eyelash curler from Shu Uemura via the Ebates.com site, New Generation Eyelash S Curler. This oddly shaped curler is reminiscent of a Tweezerman for Laura Mercier curler from awhile back; the surface area is at least 1/3 of the size of a normal wide-mouthed curler and has a definite learning curve when it comes to use.
Just like the "Bite Bite Bite" method from my previous post; start at the base or as close as you can maneuver the curler, you can use the top white pad as a guide (when you feel it touch your lid, stop!) or just eyeball it. Squeeze with a firm but slow pressure, then release softly, tilt your wrist up (thereby tilting the curler) slowly and do another short squeeze and repeat at least twice. You get SUCH a deep curl out of the S Curler! Because the actual surface area is smaller, it also allows for more precision which also translates into take your time when using this curler. Do NOT rush it! Yes, you can get into the inner and outer corners and curl just about every top eyelash you have, but if you rush you risk yanking out lashes in sections.
The Shu Uemura New Generation Eyelash S Curler retails for $24 US.
On to the next!
 | |
| PHOTO FROM INGLOTUSA.COM |
I've been searching for years, YEARS I TELL YOU, for polymer wrapped Tight-Lining product to NO AVAIL.
Until now!!! This little beauty is the INGLOT AMC Eyeliner Gel in 77. It's a deep, DEEEEEEEEEP black with a putty-like look but an INK-LIKE texture! It's FANTASTIC! I was first turned on to it by YouTube User AnneThenSheSaid during one of her tutorials. She used it to make a fierce cut crease and by the look of it, I WANTED IT! I commented her video and asked if it was good for Tightlining (demonstrated in my previous post - How to Tight Line) and she told me it was GREAT and SHE WAS SOOOOO RIGHT!!!
I was STUNNED at how BLACK the eyeliner is and how creamy and easy to apply in the lash line! And let's have a half-second to talk about the price, on the INGLOT website, it retails for $12 US...I'm sorry, are those angels singing???? That's $12 US for 5.5g of pure black inked amazing-ness.
My only concern: it's really really inky. And you need an oily remover to get it off. Of ANYTHING. It took me a good 5 minutes to clean it off my hand and brush. It sets like crude oil. But I LOVE IT!!!
Below is a picture I took of my eye this morning, (sorry it's so yellow. I couldn't get the light to adjust right) I'm wearing the tiniest bit of eyeshadow (mainly because I accidentally pushed through my lashline while tightlining and COULDN'T GET THE SMUDGE OFF), the Inglot liner and mascara after curling my lashes with the S Curler.
You can see, the curl is DEEEEEP y'all. The liner is solid and tight. And I fully expect all of it to stay that way ALLLLL DAY.
(I also have my brow stuff on, but that's another post)

Has anyone else tried the S Curler or the Inglot Liner? I'm curious. There's 16 shades of liner on the Inglot site, including the most gorgeous red I've ever seen...obviously not for the faint of heart; also warm and cool purples, a teal that I'm drooling over and more!

 The befores.
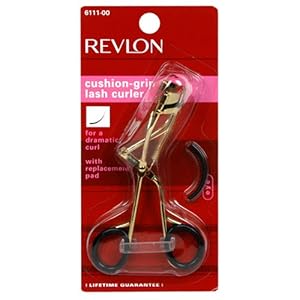
